(Swift) Create And Execute A Network Request


Introduction
In the real world, most of the application is related to the network. How could we fetch the data from the web for use in our app? Today we will build a playground that uses a URLSession to fetch the data from the web then turn those custom data into our own model.
Firstly, let's get some basic knowledge about what is the URL:

Picture from: Develop in Swift Data Collections
According to the "Develop in Swift Data Collections"
Subdomain
A subdomain can be used to point to a more specific server or to redirect to another URL.
Domain Name
A domain name is a unique reference to a specific website and always includes a host name (like “apple” or “itunes”) and a top-level domain (like “.com” or “.org”). A domain name points to specific servers that handle all the requests that go to that domain.”
Query Parameters
A query provides the server with even more specifics about a request. Queries work like dictionaries in Swift, with keys and values that give the server parameters for generating a page with the desired information. For example, if you navigate to http://www.apple.com/us/search/iPhone?sel=explore&page=2, you're telling the Search page to display the second page of results for the keyword “iPhone” under the Explore tab.”
1. Create a Data Task & Send the Request
Let's create a simple Network Request by following
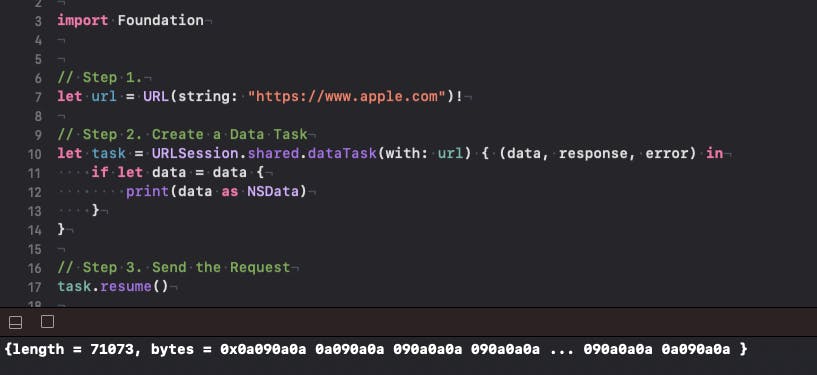
1. Create URL
let url = URL(string: "https://www.apple.com")!
2. Create a Data Task
let task = URLSession.shared.dataTask(with: url) { (data, response, error) in
    if let data = data {
        print(data)
    }
}
3. Send the Request
let url = URL(string: "https://www.apple.com")!
Console Output: 71073 bytes
The data we get right now is a bunch of bits that can be anything. In order to figure out what Data really is, we can cast our data into the NSData type.
Now we can know what is the real thing inside this data, but we still can not use those of data as we want.
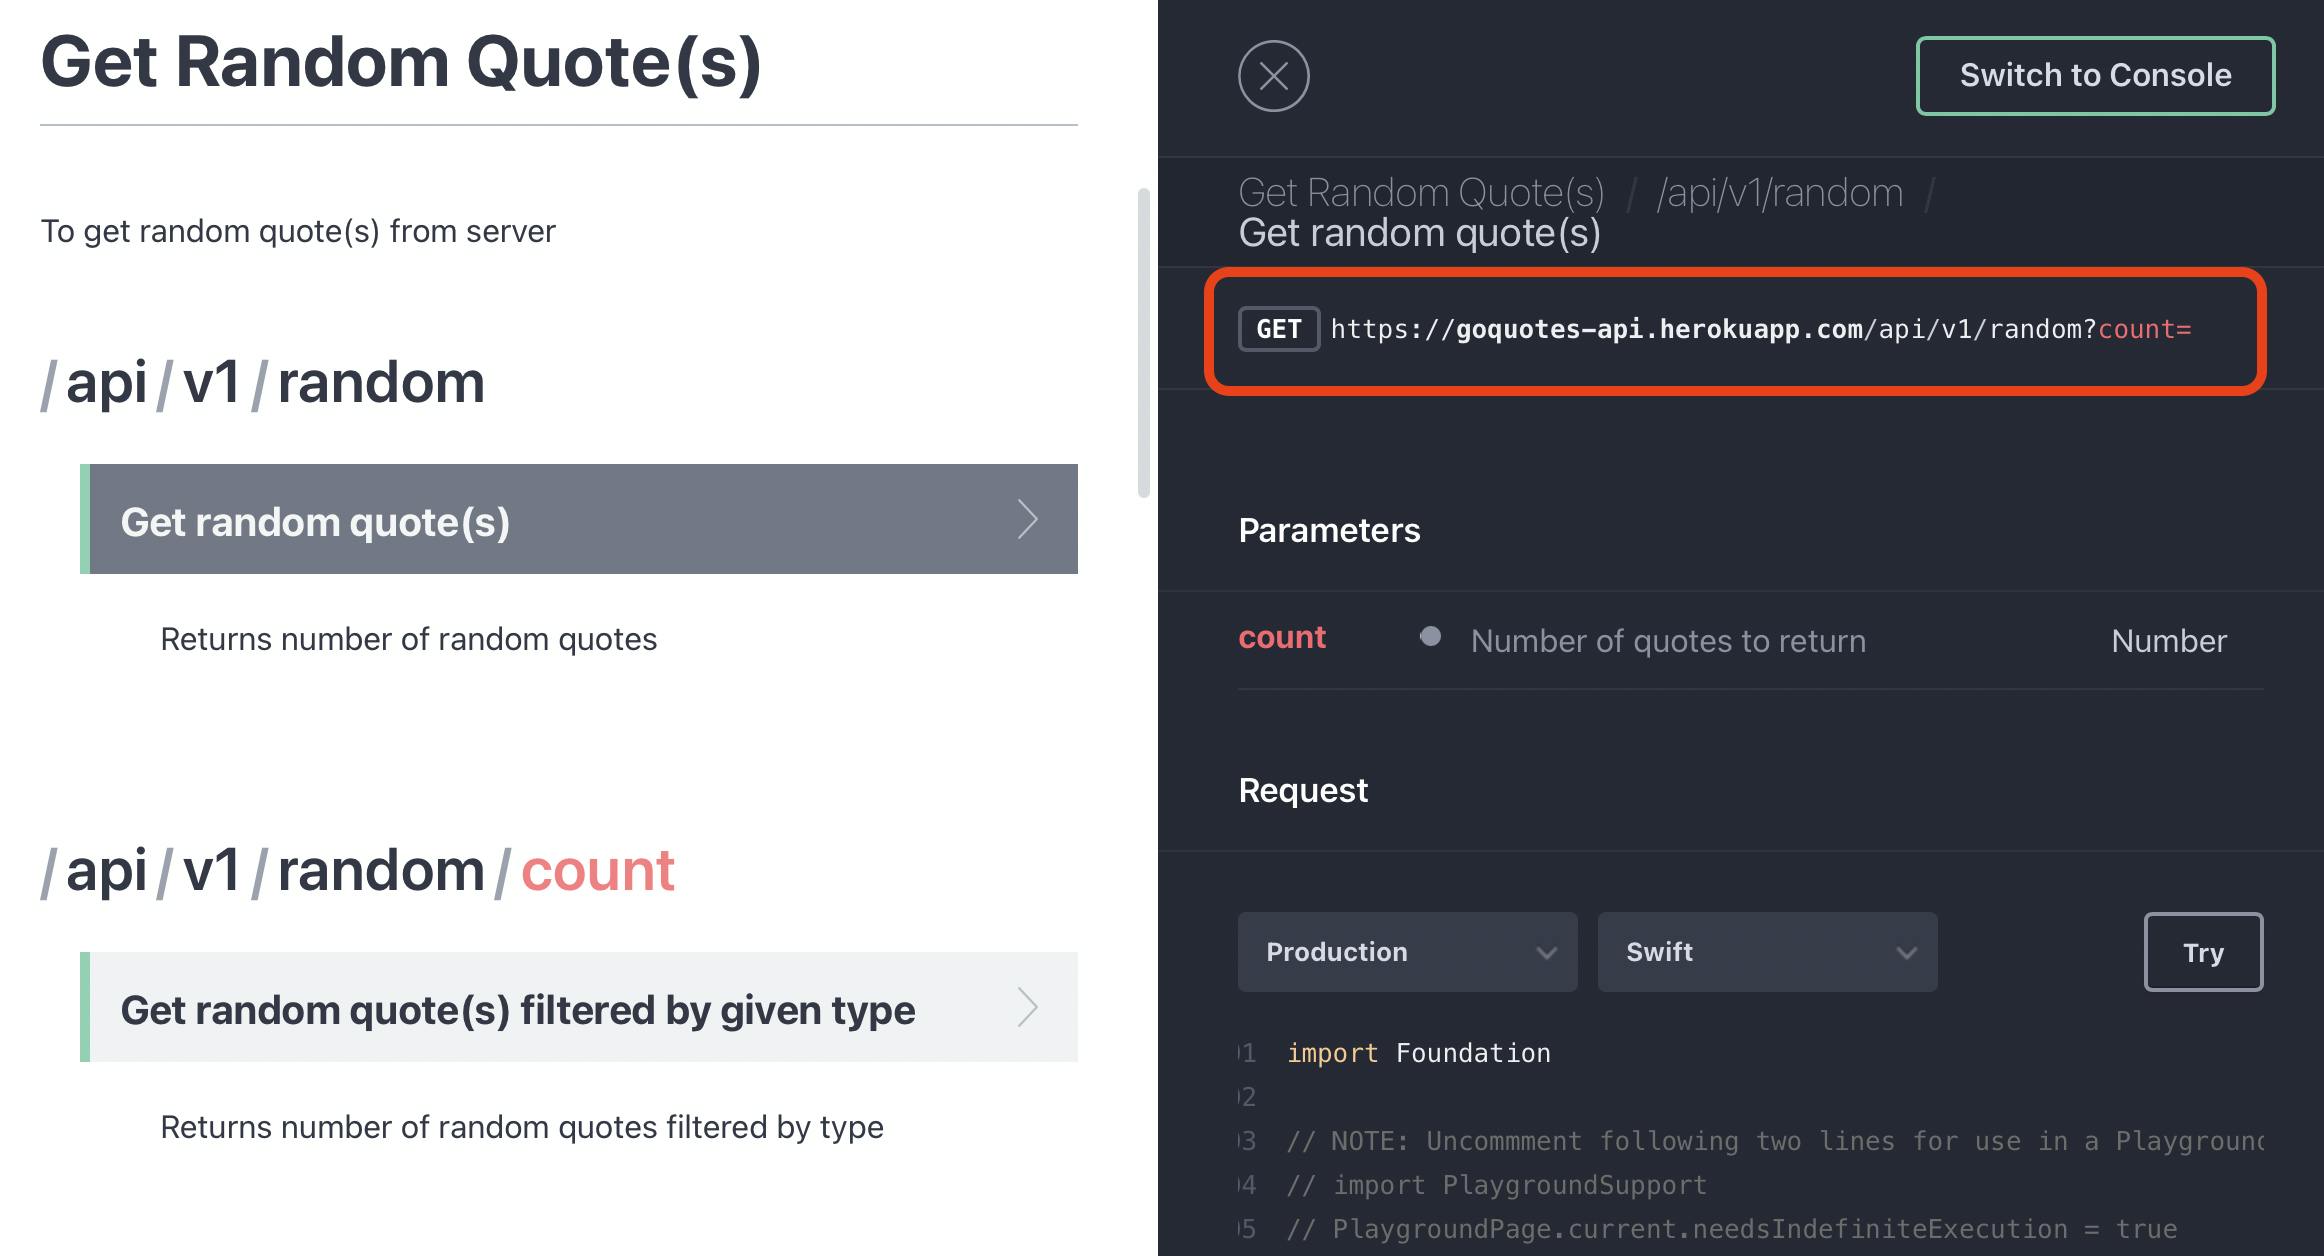
For the next step you will work with the Free Quotes API which call "Go Quotes API" to fetch the data and decode the in the custom data model that we want.
API Link: https://goquotes.docs.apiary.io/#reference/get-random-quote(s)/apiv1random/get-random-quote(s)/apiv1random/get-random-quote(s))
2. Fetch Data from an API
In this section, you will create the API request which is very similar to first section which you have done. Then we can modify our URL components by custom the query.
Let us take a look at the Go Quotes API website
We will try to fetch the raw information which we can serialize into our custom model.
Now let us create the API request
1. Create the API request
As I mention, it very similar to the first section that we fetch the website's HTML raw data. This time we change our URL into
Our whole code this time will look like this
let url = URL(string: "https://goquotes-api.herokuapp.com/api/v1/random?count=1")!

let task = URLSession.shared.dataTask(with: url) { (data, response, error) in

    if let response = response {

      if let data = data, let body = String(data: data, encoding: .utf8) {
        print(body)
        //data.prettyPrintedJSONString()
      }
    } else {
      print(error ?? "Unknown error")
    }
}
task.resume()
Note: Our task which is the closure, and in this closure, it will have the return type
- data
- response
- error
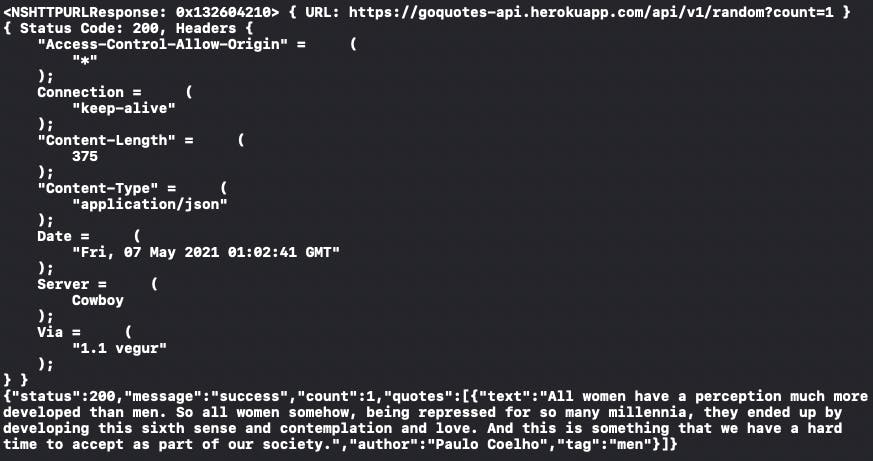
At here we use the 'if let' to unwrapped our response to make sure the API has the proper response then unwrapped the data after. Then we can use the String(data: data, encoding: .utf8) to convert the given data into Unicode using a given encoding.
The Console Output:
We also can use this extension to make our data output more organize
extension Data {
    func prettyPrintedJSONString() {
        guard
            let jsonObject = try? JSONSerialization.jsonObject(with: self, options: []),
            let jsonData = try? JSONSerialization.data(withJSONObject: jsonObject, options: [.prettyPrinted]),
            let prettyJSONString = String(data: jsonData, encoding: .utf8) else {
                print("Failed to read JSON Object.")
                return
        }
        print(prettyJSONString)
    }
}
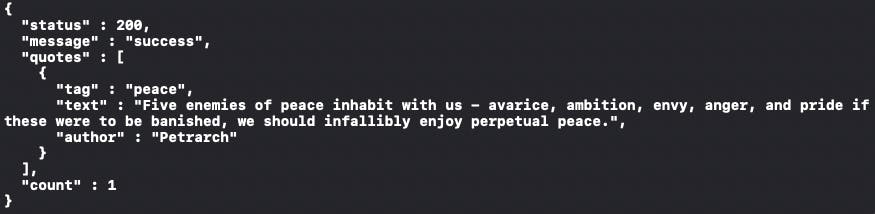
Now comment out the data.prettyPrintedJSONString() you will see that we have this beautiful output.
Before we learn how to convert JSON into Swift type or our own custom model by using the Codableand a JSONDecoder. Let's talk a little bit about what is JSON.
When we pull the data from the API, we often get the data which returned in the form of JavaScript Object Notation (JSON). JSON is defined a object that are stored and structured in JavaScript.
Now, let us convert JSON into our custom model.
Firstly, we need to define the struct that we will use to decode our JSON. Base on the JSON, we can create two structs which will correspond to our JSON :
struct ApiResponse: Codable{
    var status: Int
    var message: String
    var quotes: [Quote]?
}

struct Quote: Codable {
    var text: String?
    var author: String?
    var tag: String?
}
Then we need to use the JSONDecoder to decode the data we fetch by our custom "ApiResponse" struct which is conform to the Codable protocol.
let apiResponse = try JSONDecoder().decode(ApiResponse.self, from: data)
The whole code will look like below:
let url = URL(string: "https://goquotes-api.herokuapp.com/api/v1/random?count=1")!
let task = URLSession.shared.dataTask(with: url) { (data, response, error) in
if let response = response {
if let data = data {
do {
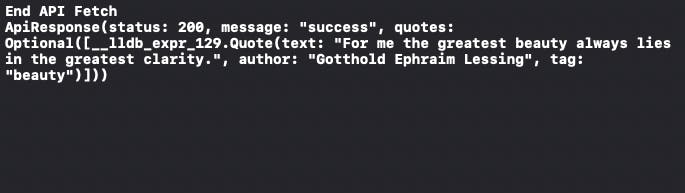
print("End API Fetch")
let apiResponse = try JSONDecoder().decode(ApiResponse.self, from: data)
print(apiResponse)
} catch {
print("JSON Decoding Error: \(error.localizedDescription)")
}
}
} else {
print(error ?? "Unknown error")
}
}
task.resume()
The Console Output:
Now you can fetch the data from the API and use it in our custom type. For the next article, we will use the Completion Handler to shared the URLSession instance that it creates then let the closure access to our API response instance as a parameter.
Final, we can use that API to build up an application like this: